
Screen Capture Options Built in to Windows
Capturing partial and full screen shots is incredibly valuable for numerous uses. The ability to annotate a screen shot easily is an added feature of some screen shot software, and the best screen shot software enables you to open image files you've already got stored for annotation. This last feature of annotating existing files seems like common sense, but you might be surprised at the number of vendors who don't realize this is lacking in our marketplace.
The information below is the default functionality built into windows. As you will see it is very limited but it meets the most basic needs.
The information below is the default functionality built into windows. As you will see it is very limited but it meets the most basic needs.
Windows > Print Screen
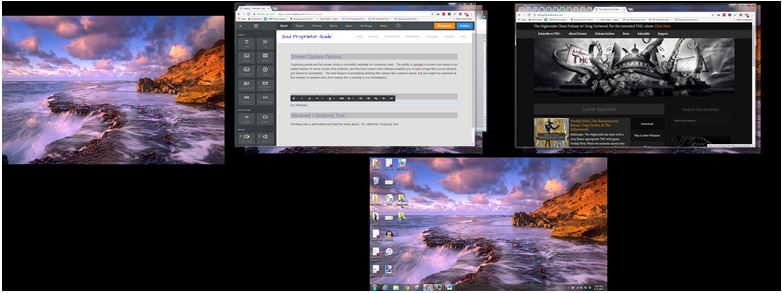
On Windows, if you simply select "PrintScr", it will copy an image of your monitor to the clipboard, and you can use ctrl-v to paste that image into various software programs. This does not enable annotating and you can't easily save the image file just as an image file. All in all, it is a very limited tool and rather annoying in its limitations. If you have multiple monitors it would look like this...
Windows > Snipping Tool
|
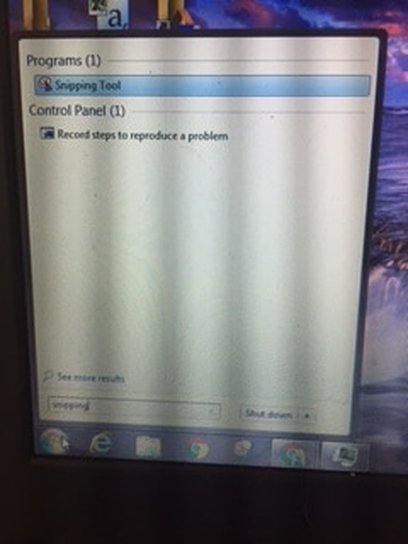
Windows has a well hidden tool that few know about. It's called the "snipping" tool. Do whatever it takes to get to the search box on your windows machine and type "snip" and it should show up. Double click to open.
|
|
Windows Snipping Tool > Pin to Start Bar
|
I use the snipping tool so much that I actually have pinned it to my start bar. To do that,
|

|
Windows Snipping Tool > Using it, and it's Pros and Cons
|
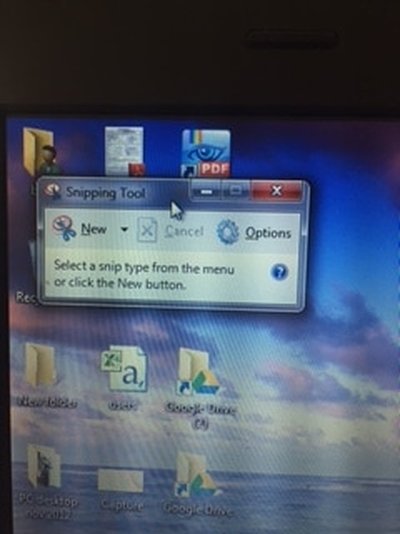
When you double click on the Program from the menu or from the start bar, a small window appears on your screen.
New -- Click on the small arrow to the right of the word "New" and you will be given options for how you want to capture an image. (HINT -- Rectangular snip will give you a cursor that enables you to draw a box around your target material. I use that that most.) After the capture method is selected, it will remain selected for all future uses until you change it to another option. Options -- Click on the options menu to see what those are.. it is just a few defaults, and one of them copies the image you've snagged automatically to the clip board and that might be handy for some folks. To use -- Click on "New" and the screen will grey out some (if that option is selected on the options window) and at that point use your cursor to draw a box around what you want to snip, and see next image below... |
|
|
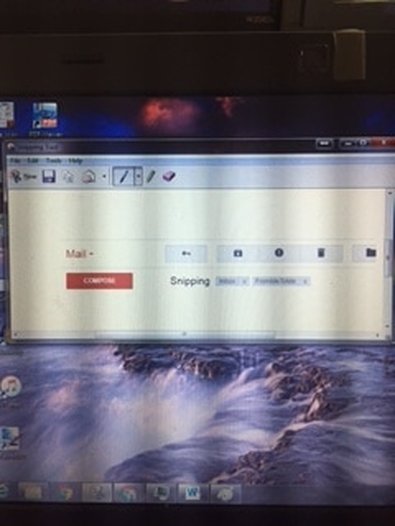
As soon as you draw the box, it will load the content inside of your box into the snipping editor (the small snipping window expands out and includes the image you just took).
At this point you can use the pen or highlighter to do very basic annotation. Unfortunately this does not include the paint shop style boxes, arrows and shapes to enable quick annotation. Pros:
Cons:
|
|